 |
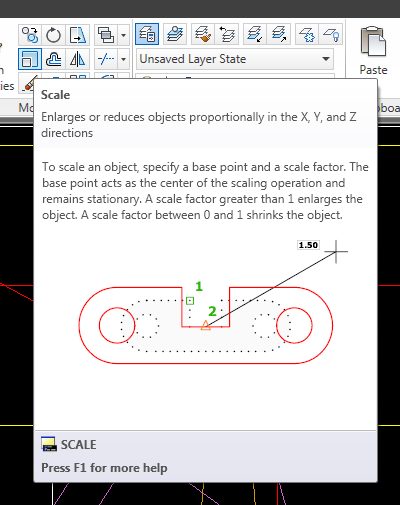
| The Scale Command's Tool Tip |
I had a pipe drawn at 18” in diameter. It was already an ellipse so it was scaled properly in both the x and y axis. I just needed it to be a 24” diameter pipe. In order to show an 18” diameter pipe in a 40 scale drawing at a scale factor of 4 we have to draw a 15’ diameter pipe about the y-axis that is also 18” wide across the x-axis. This makes for a tall and skinny ellipse. A 24” pipe would be drawn at 20’ tall. That is because we scale the y-axis “up” to put it at a different scale in the drawing view. This math can make your head hurt so do the easy thing.
When you scale (by scale here I mean to use AutoCAD’s scale command) something “up” (make it bigger) you have a positive, larger than 1 scale factor. To scale something “down” you use a positive smaller than 1 scale factor. Think of it as a percentage if that helps to understand it. A scale factor of 1, or 100% means it stays the same. 1.5 or 150% means it is half as big or 50% larger. 0.5 or 50% means it is half as small.
 |
| Scale Icon |
It took two seconds to do and I moved on to the next thing. I use this trick all of the time when I am re-sizing something (like a pipe in this case) or need to change the scale of an object. It is simple to remember too. Here is what I do to determine a scale factor:
The top number (the numerator) is the size of the object that I want it to be (in my pipe example it was 24) and the denominator (the lower number) is the current size of the object.
Just make sure that both numbers are in the same units. Using 2/18 would make my object significantly smaller and would be incorrect. If you are not sure which number goes where or if you want a quick “check” to see if you are scaling the object correctly, remember that if the top number is smaller than the bottom number your object will get smaller. If the top number is bigger than the bottom number your object will get bigger.

No comments:
Post a Comment